Configuring webOS TV Plugin
We have been decided to no longer support the Sublime Text plugin since 2022. We recommend that you use the VS Code extension instead.
This article guides you on how to install the webOS TV plugin for Sublime Text. To learn how to use the key functions of the plugin, see Using webOS TV Plugin.
Prerequisite
The plugin provides the same functions as the CLI (Command Line Interface) does. Therefore, you must install the CLI and configure the CLI path in the environment variable before using it. The installer does the job for you.
Installing the plugin for Sublime Text
If you already have Sublime Text on your computer, the SDK installer automatically installs the plugin. If you do not have Sublime Text already, however, you can manually install the plugin after installing Sublime Text.
To manually install the plugin:
-
Run the execution file (.bat or .sh) specified as below for your OS. Then, the plugin is automatically installed.
- Linux
<SDK_Installed_Path>/SublimePlugin/webOS_plugin_install_linux.sh - macOS
<SDK_Installed_Path>/SublimePlugin/webOS_plugin_install_mac.sh - Windows
<SDK_Installed_Path>\SublimePlugin\webOS_plugin_install.bat
- Linux
-
Open Sublime Text and check that the webOS menu is added successfully as shown below.
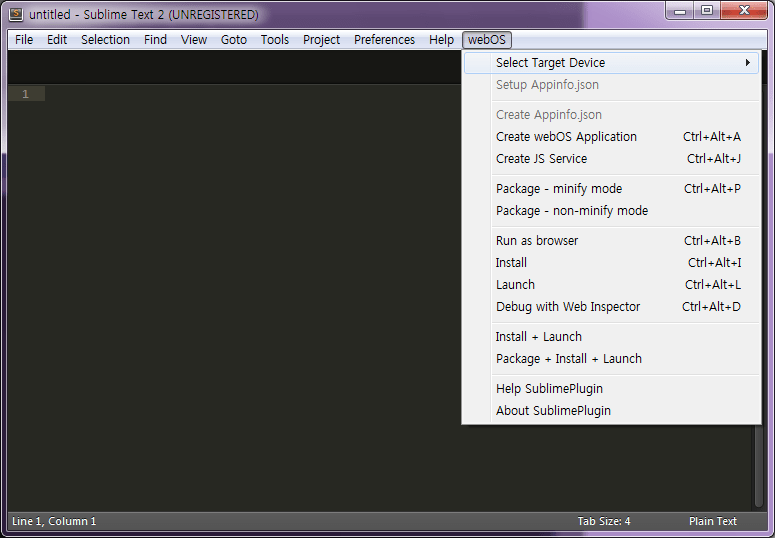
Selecting Target for App Launching
Once you install the webOS TV SDK and the plugin on your computer, start the Sublime Text 2 from the Start menu. Then, you can select a target device in webOS > Select Target Device menu.
If you start the Sublime Text for the first time, an emulator is selected as a target device by default. To add other devices you are targeting, use the webOS TV CLI command. Once added, you can see the target devices you have added in webOS > Select Target Device.